
Create a native format
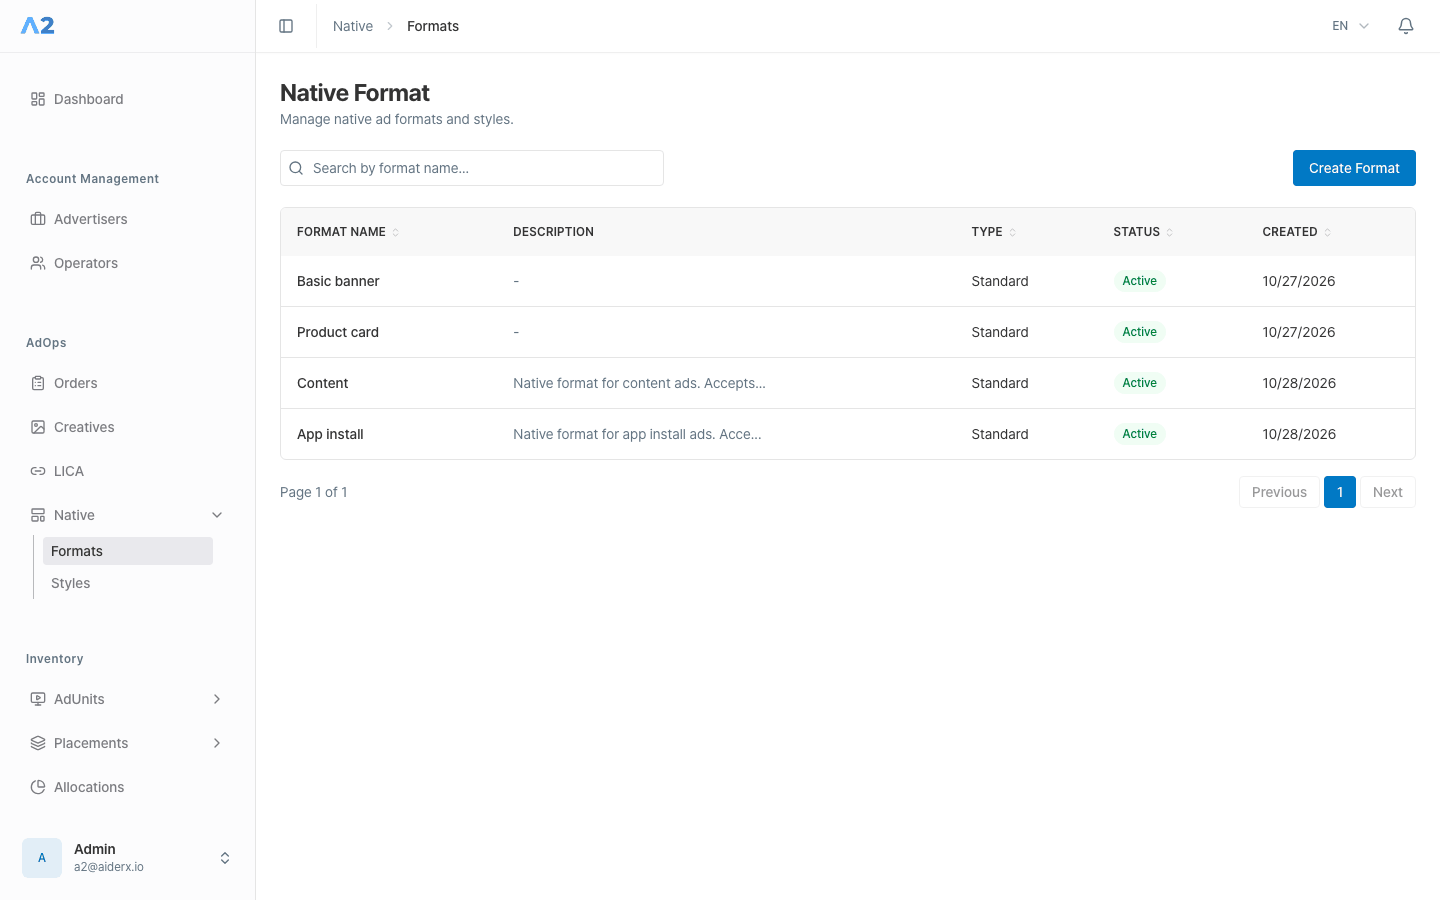
- Open Native → Formats and select Create format.
- Enter a Format name and, if needed, a Description.
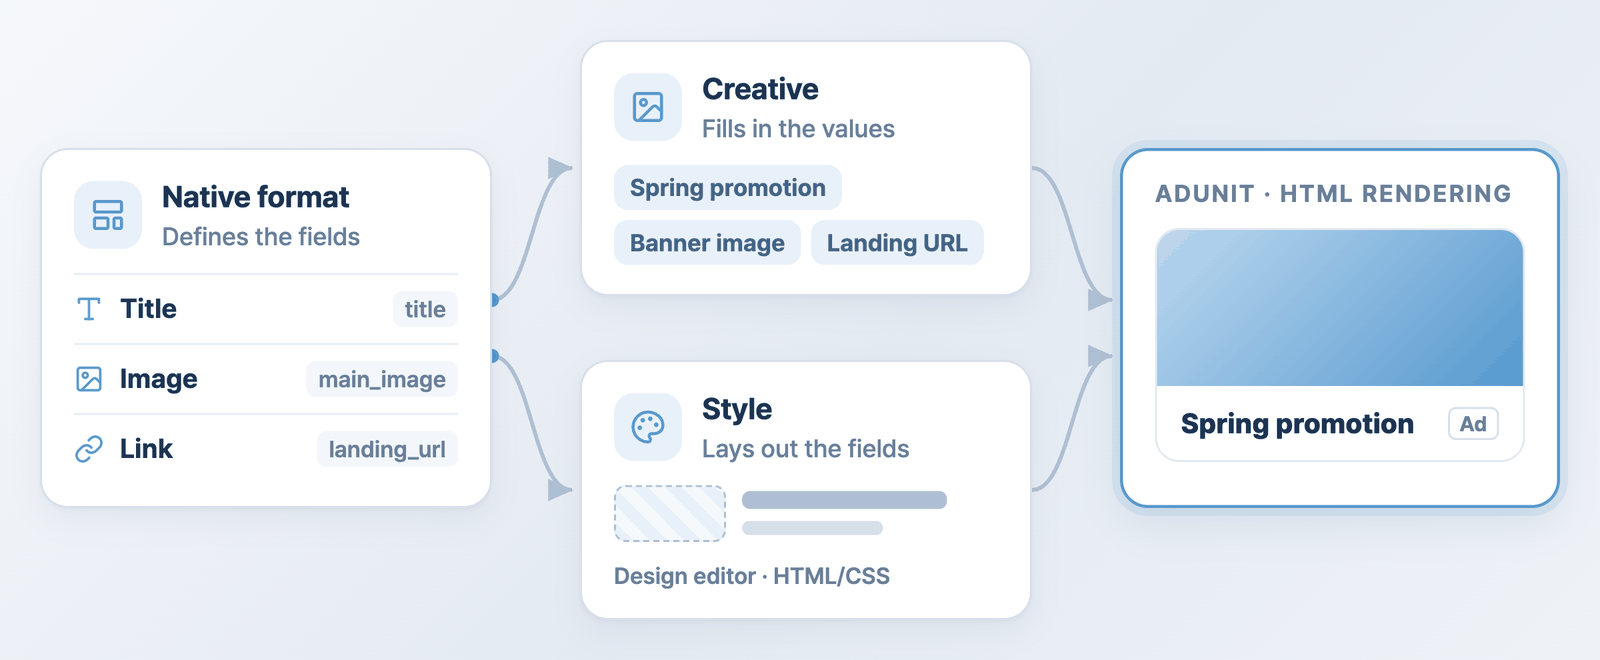
- Select Add field to define the values a creative can provide.
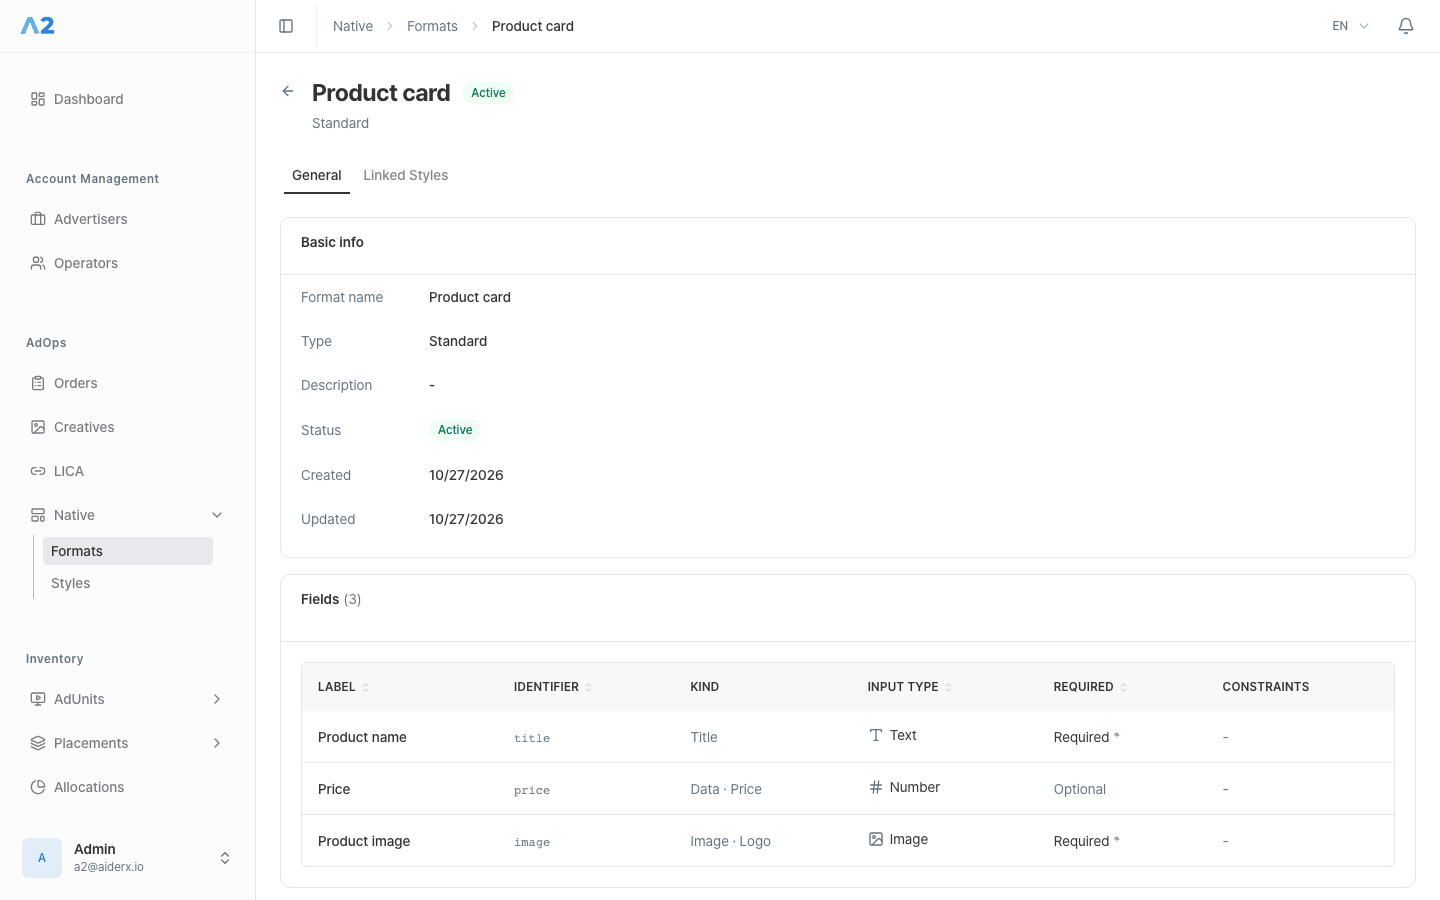
- For each field, set its Kind, Identifier, Label, and whether it is Required. Add a description and constraints if needed, then save the field.
- Review the field list, including its input type, required setting, and constraints, then select Create format.
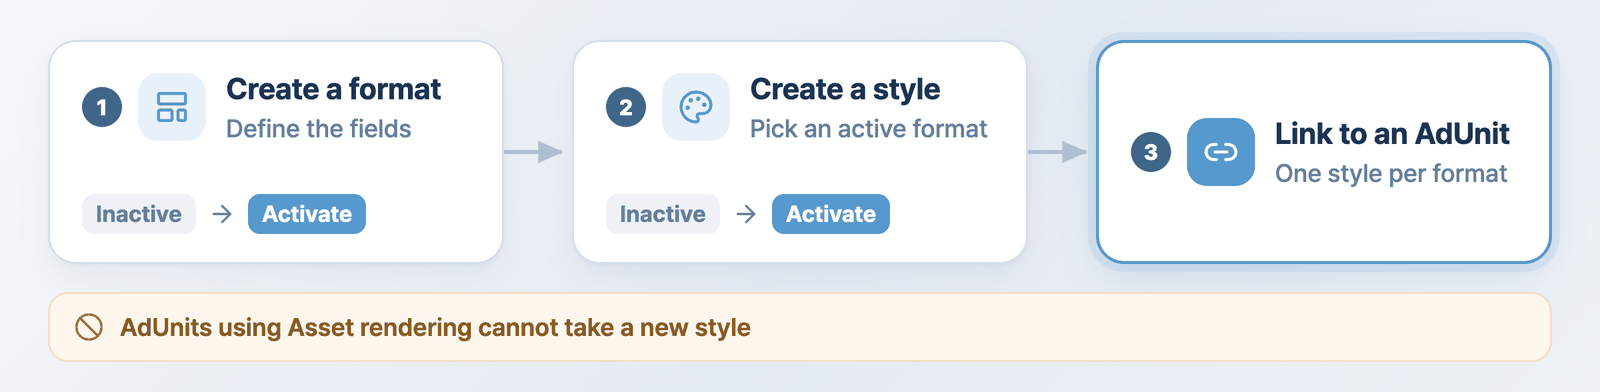
- A new format starts as Inactive. Select Activate on the format detail page. Inactive formats do not appear when you create a style.
The format editor supports Title, Image, Data, and Link kinds. Data can accept text or a number. Image and Data require a subtype. The format editor does not support Video fields.
You cannot add, edit, or delete fields after a style or creative is linked to the format. To change the field structure, create a new format and link styles and creatives to it. Deactivating or deleting a format may also be blocked while it has published allocations, linked styles, or creatives.
Create a native style
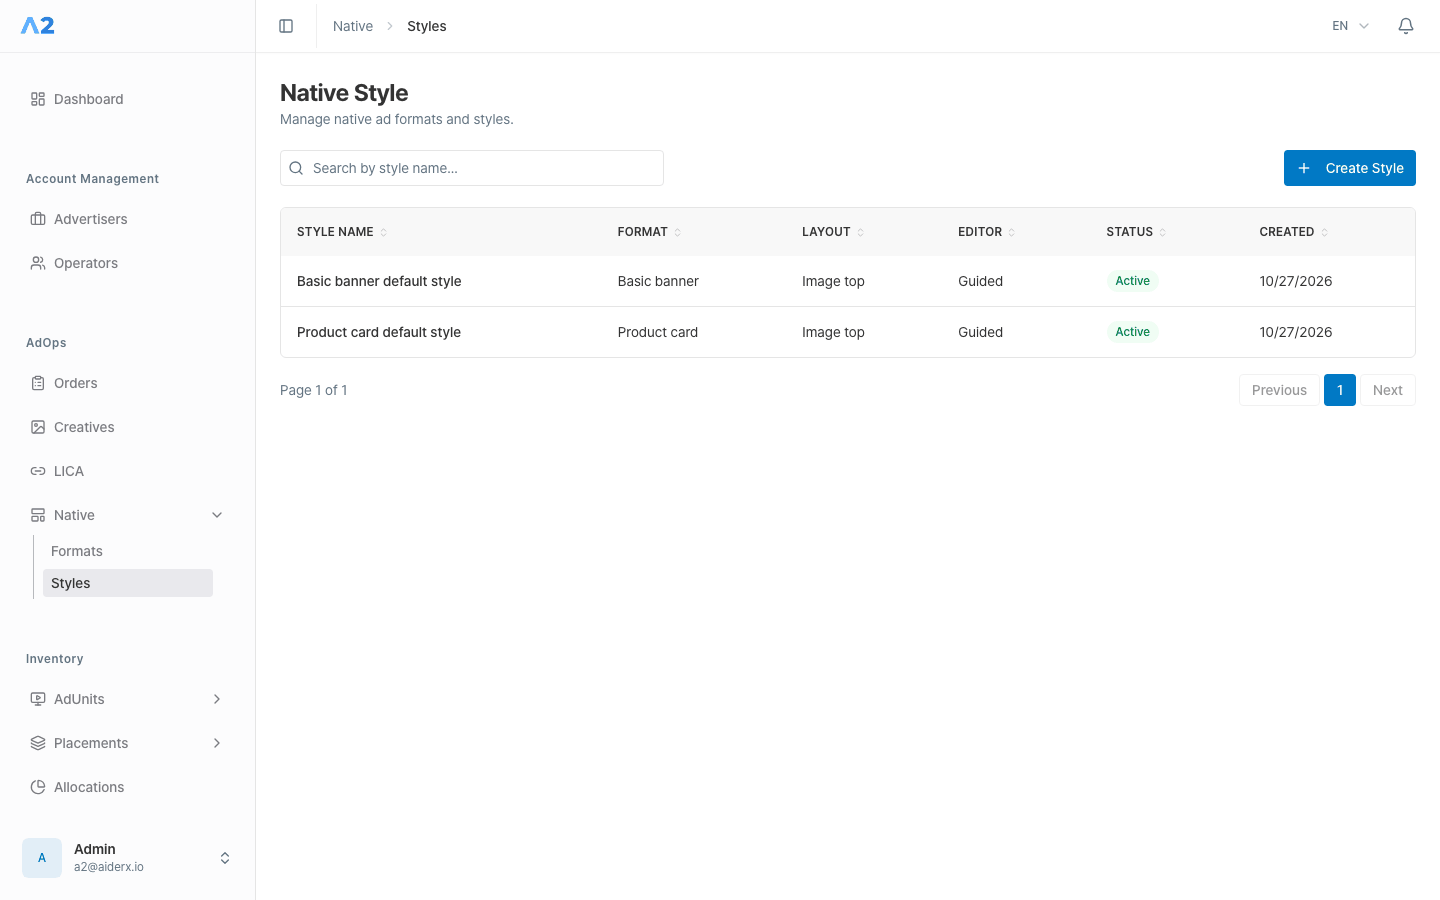
- Open Native → Styles and select Create style.
- Choose Guided design editor or HTML / CSS editor.
- Enter a Style name and optional Description, then choose Native size: Fluid or Fixed. For a fixed size, select a listed size or enter the width and height.
- Select the Native format. If you chose the Guided design editor, also choose a template.
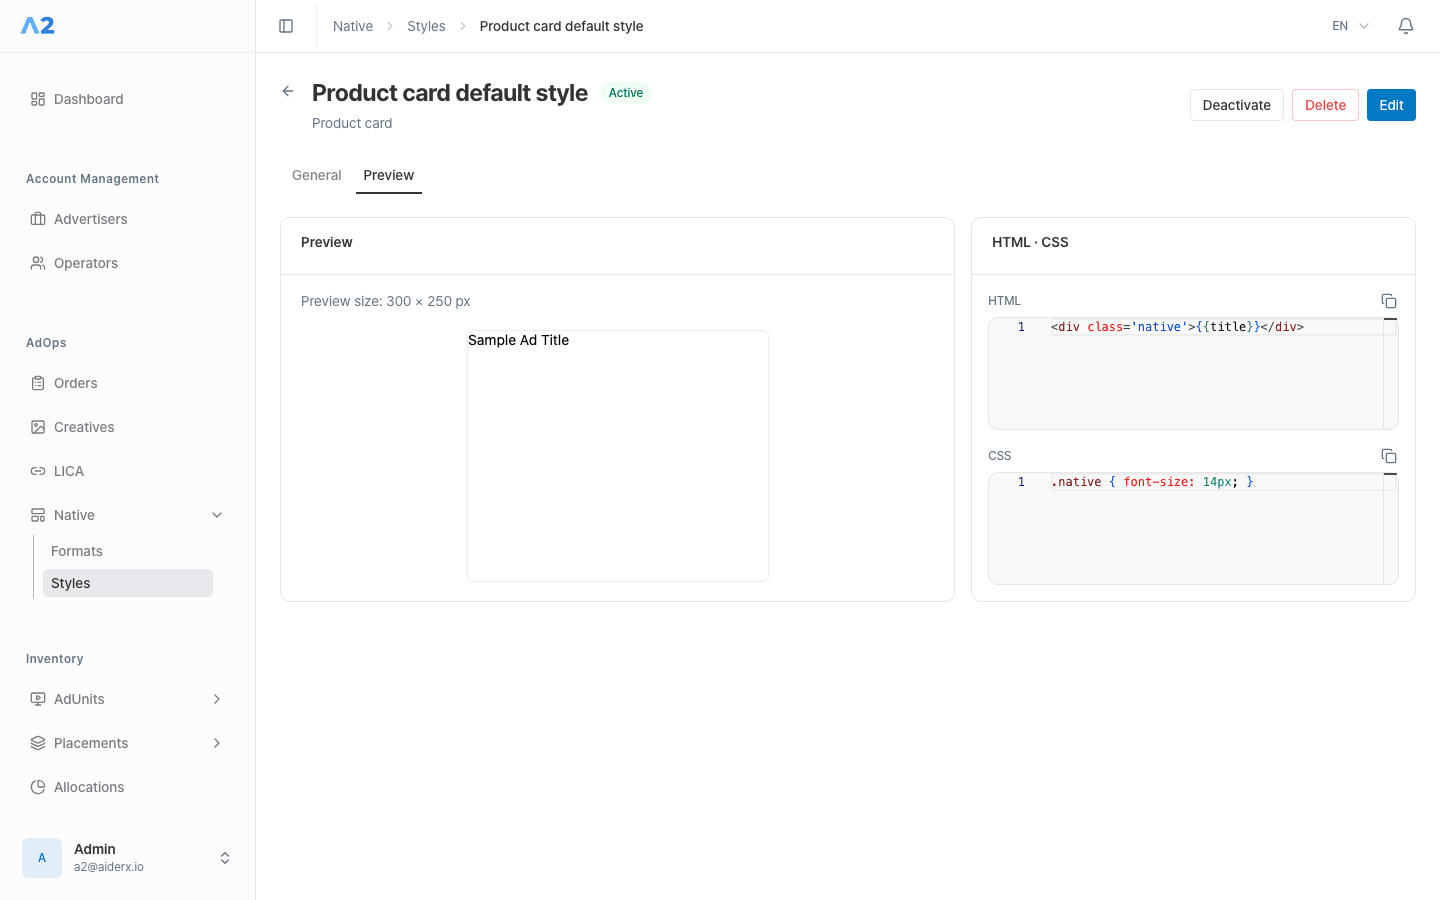
- In the design step, adjust the template layout and appearance. In the HTML / CSS editor, enter code or generate starter code for the format’s fields and edit it.
- Check the preview to make sure the fields appear in the intended order and layout, then save.
- A new style also starts as Inactive. Select Activate on the style detail page. An inactive format or style cannot be linked to an AdUnit.
Link a style to an AdUnit
- Open the Native Styles tab on the AdUnit detail page.
- Select Add Style.
- Select the Native Format and a Style created for that format, then save.
- Confirm the format and style in the linked list.
Verify the setup
- In the format details, confirm the fields, required settings, and constraints.
- In the style preview, check that values similar to real creative content appear as intended.
- In the AdUnit details, confirm the selected format and style are linked.
- Asset rendering also returns the native response and original assets. To verify the result with the Style applied, your service must use HTML rendering. See Manage AdUnits and Placements for the integration steps.